


Calcium Silicate Board
1. Introduction
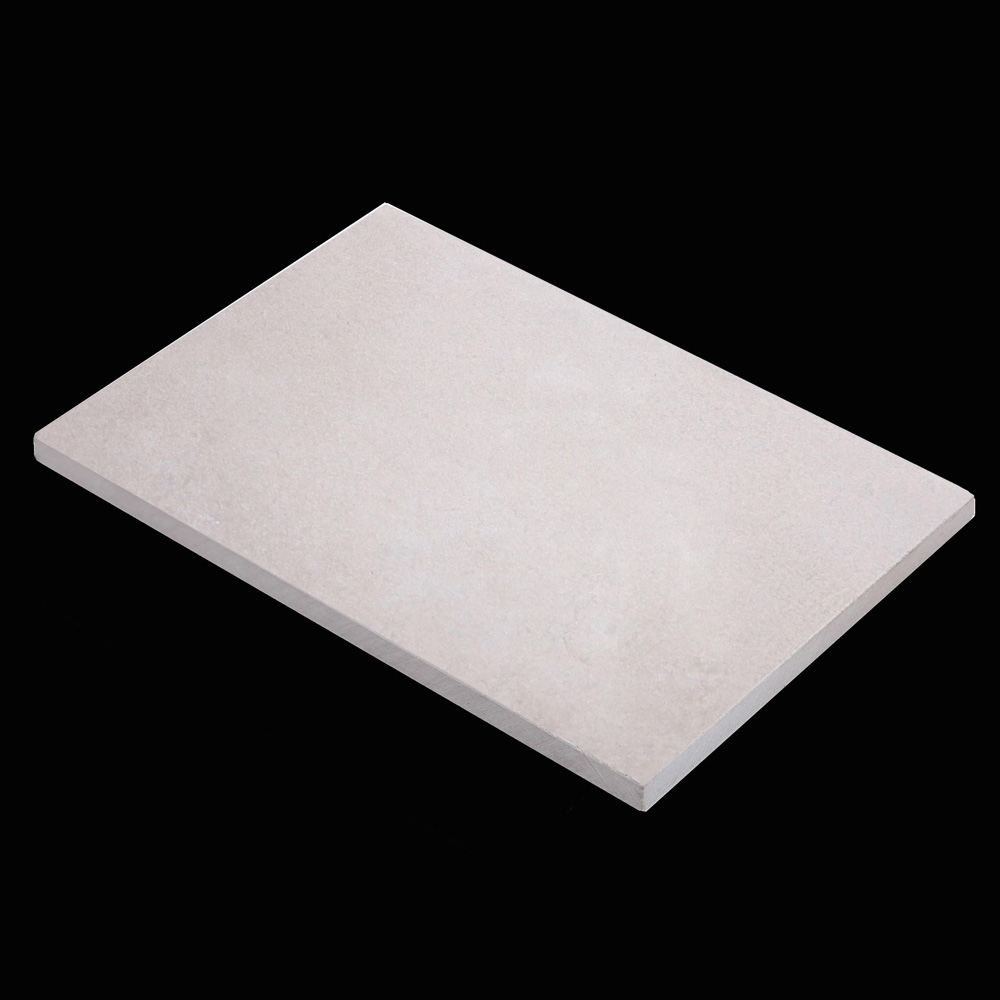
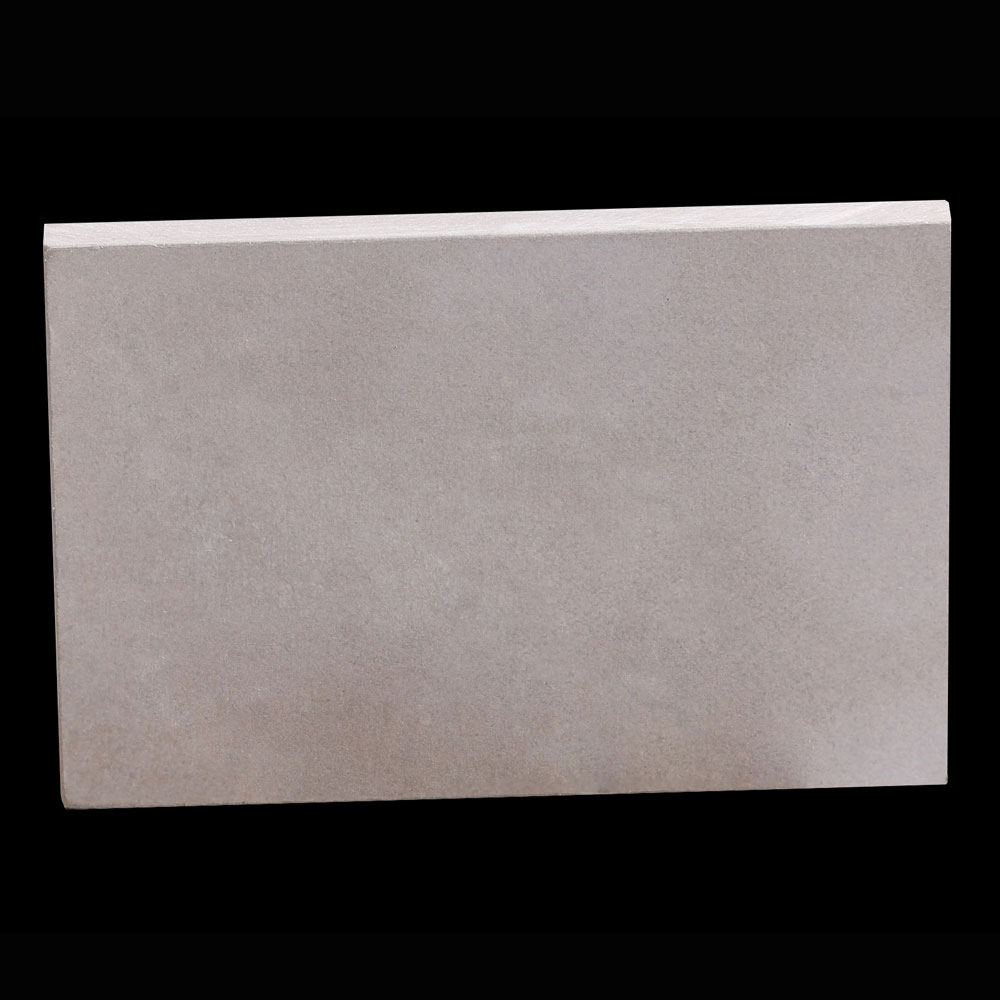
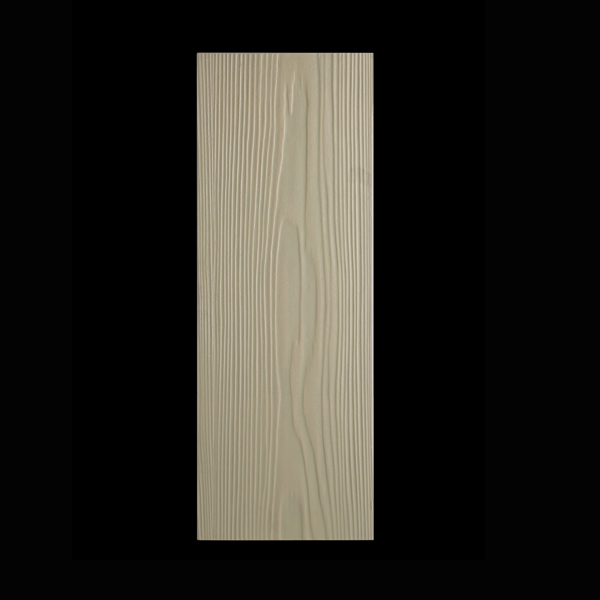
calcium silicate board is a most widely used material in China due to its good performance and easy-processing feature. It is moisture proof and heat resistant, so it is commonly used for wall and ceiling to keep away humidity and to slow down the spread of fire. What is more, it can be cut, nailed and screwed, making installation much easier. Then labor cost could be reduced as well.
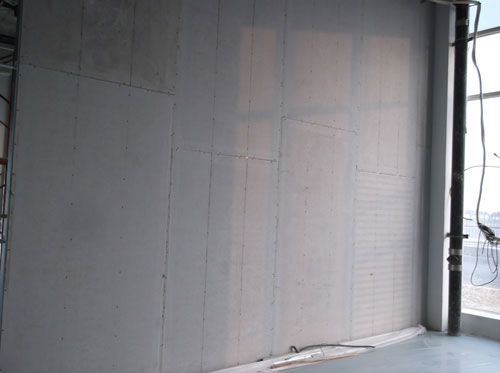
(calcium silicate board for wall)
2. Application
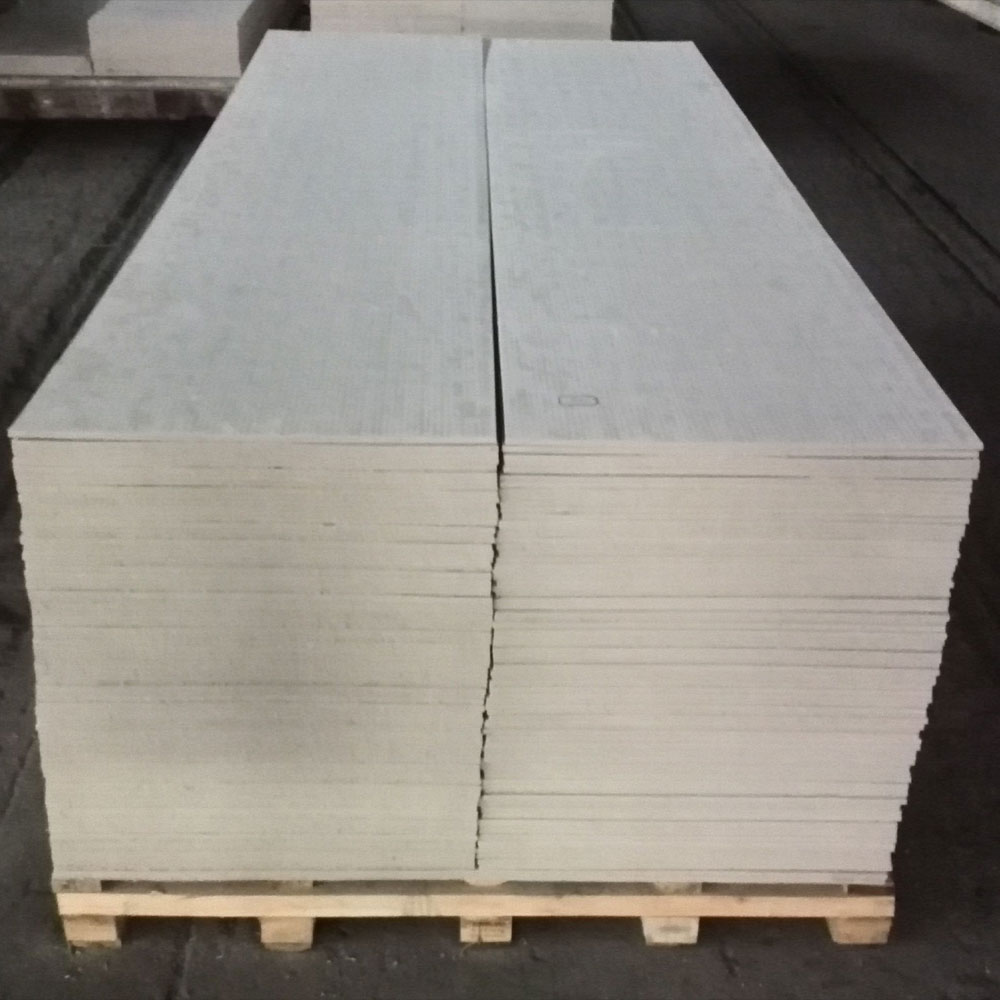
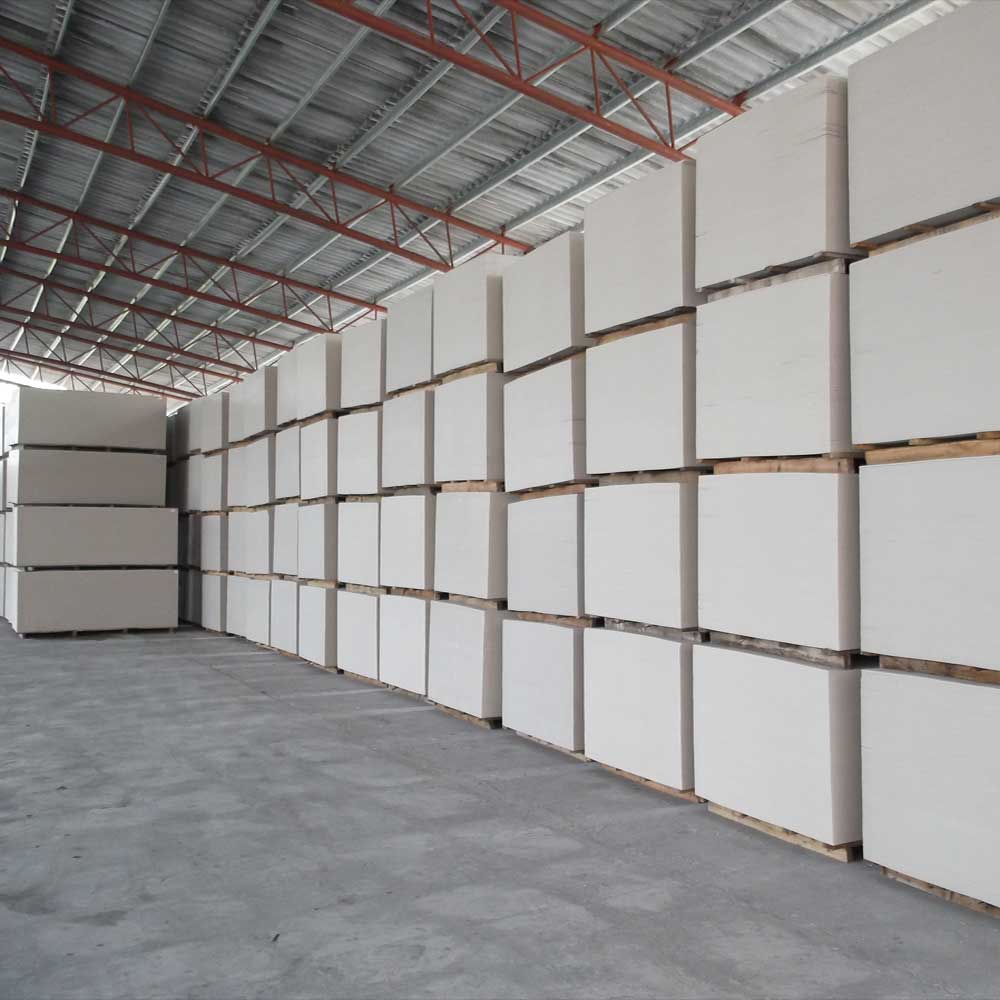
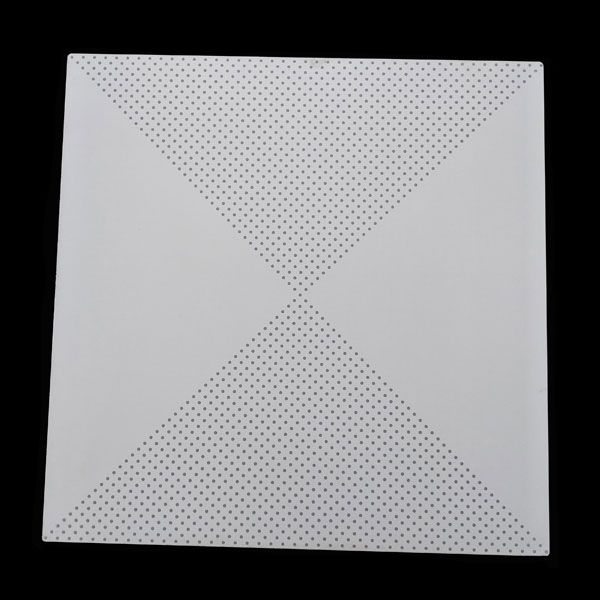
calcium silicate board is moisture proof and heat resistant, strong and durable, thus commonly used as wall and ceiling for house, office, warehouse, shopping mall, residential complex etc.
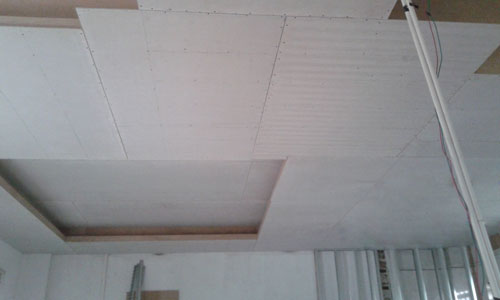
(calcium silicate board for ceiling)
3. Specifications
|
Size (mm) |
2440*1220, 2400*1200, 3000*1200, |
|
Thickness (mm) |
4.5 – 20 |
|
Moisture content (%) |
≤10 |
|
Density (g/cm3) |
1.15-1.5 |
|
Wet Expansion Rate(%) |
0.25 |
|
Thermal Conductivity (W/m·K) |
≤0.30 |
|
Bending Strength(MPa) |
9-12 |
|
Non- combustibility |
GB 8624-2006 Class A |
4. Advantages
(1). Durable
(2). Insect-free
(3). Moisture proof
(4). Heat-insulated
(5). Easy installation
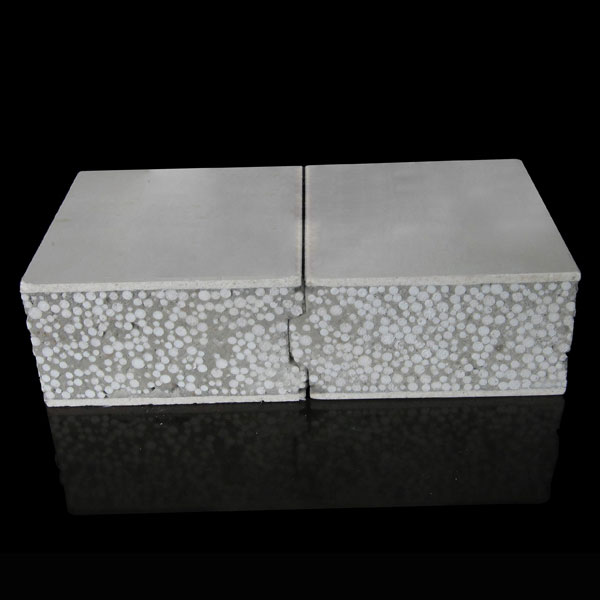
(6). Safe and Harmless
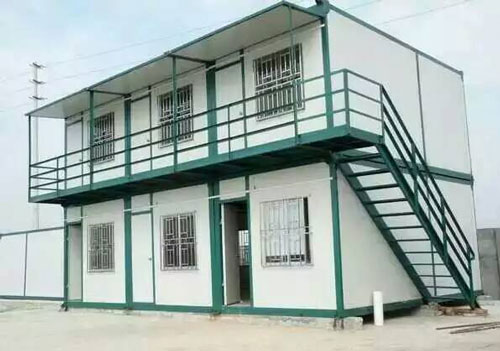
(calcium silicate board for Temporary house wallboard)
5. Installation Processes for Interior Wall
(1). Draw lines according to construction plan and install door frames.
(2). Install top keels and floor keels according to the lines. Fix the keels on base walls with nails, and the distance between nails is 600mm.
(3). After installation of top and floor keels, mark down the installation points of vertical keels, with 450mm distance between each other. Then check positions of door and other holes and avoid installing boards on their frames.
(4). Install vertical keels according to installation points. Two ends of vertical keels should be separately installed into top keels and floor keels. Fix them after adjusting and leveling. Keels near walls or poles should be fastened by screws or nails, and the screw/nail distance is 1000mm.
(5). When walls are higher than 3m, it is required to install through keels, which should be fastened by nails or screws.
(6). Check the installation of keels and door frames and make sure they are suitable for board installation. Install the boards starting from door frame or from one end of the walls if there is no door frame. calcium silicate boards should be fastened by self-tapping screws. Distance between screws is 200mm (near walls) and 300mm (away from walls). Distance between screw and board is no less than 10mm and no more than 16mm. When fixing screws, boards must be close to keels. Then install electric pipes, water pipes, electric cabinet and other fire-proof, sound-proof, water-proof materials. Repeat the same procedures and install the boards from the other side. But seams must be staggered from the first side. For a dual-layer wall installation, seams of the second layer should be staggered from those of the first layer as well.
(7). There are 3 methods to deal with calcium silicate board joints, which are bed joint, deep seam and taped seam. The processes are as follows.
Puttying: Cleaning away dust between gaps and put putty into it, making it smooth on surface.
Pasting binding tapes: Put binding materials on it when the putty is finished. First scrape off a thin layer of putty, about 1mm thick and same width as the tapes. Then put the bonding tapes on it and fasten it by driving out the air inside.
Scraping the middle-layer putty: As soon as pasting the binding tapes, scrape a middle-layer putty about 80mm wider than binding tapes, thickness about 1mm, making the tapes sunk into the putty.
Flattening: Use a big scraper to fill the wedge groove and board with putty and smooth the surface.
LiveChatclose
 Send Email
 whatsapp